
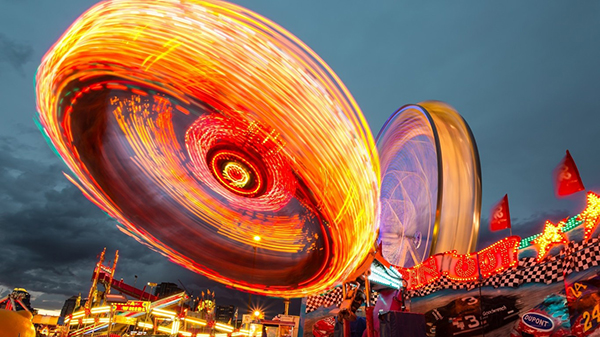
From streaking lights to smoothed out bodies of water, long-exposure photography from DSLR and mobile phone cameras can produce some creative shots.
Mobile phone long-exposure photography. (One good app is Slow Shutter)
Check out other long-exposure photography vidoes at the link below.
https://www.youtube.com/results?search_query=long+exposure+photography
By Jason Lewis
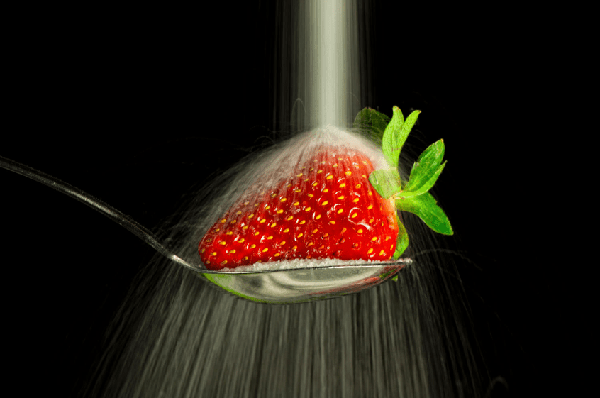
With Photoshop and other photo editing software, “trick” photography (for lack of a better term) has become really popular. People with great computer skills have produced some really great work by manipulating images. But there are some tricks that don’t require computer skills. All you need is your camera.
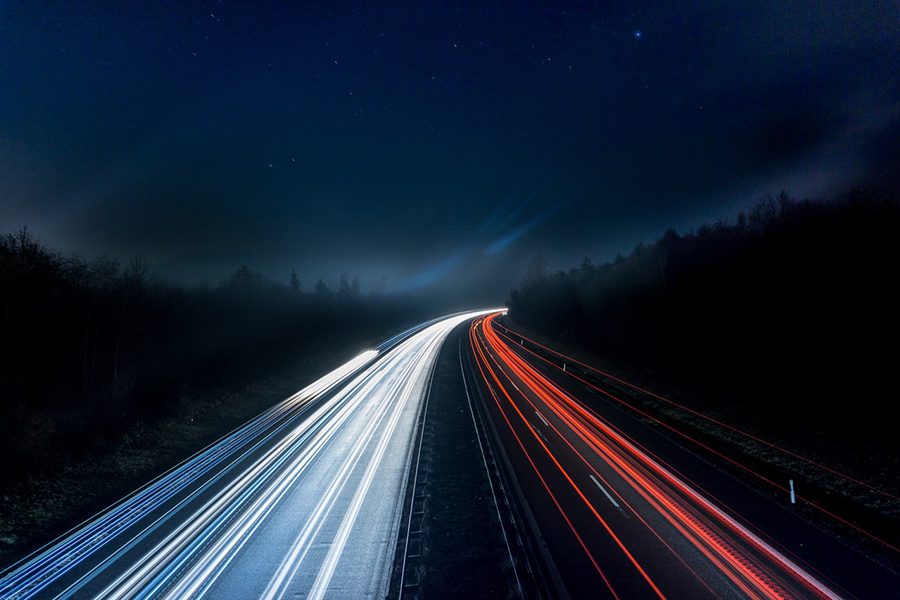
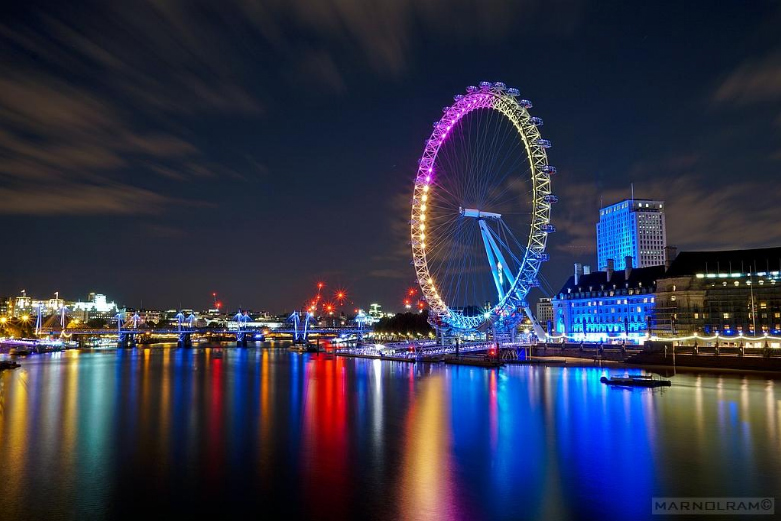
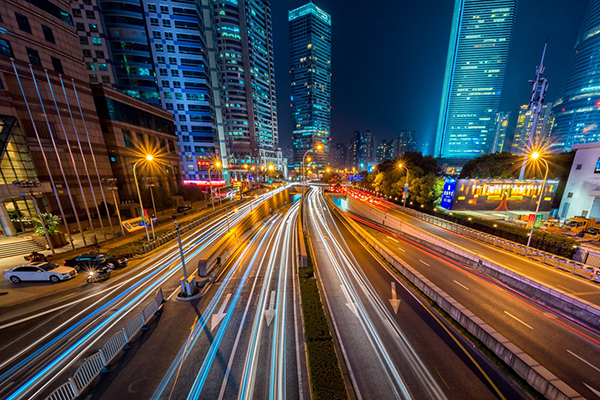
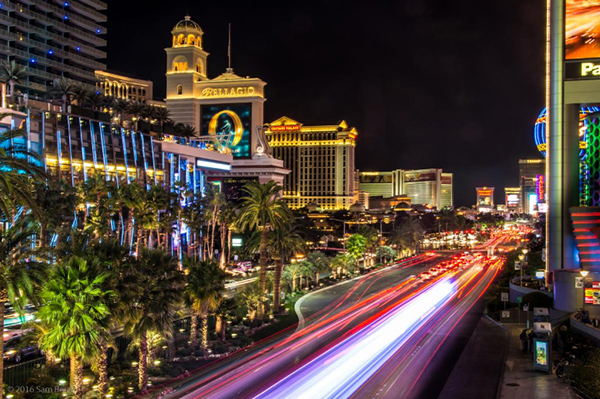
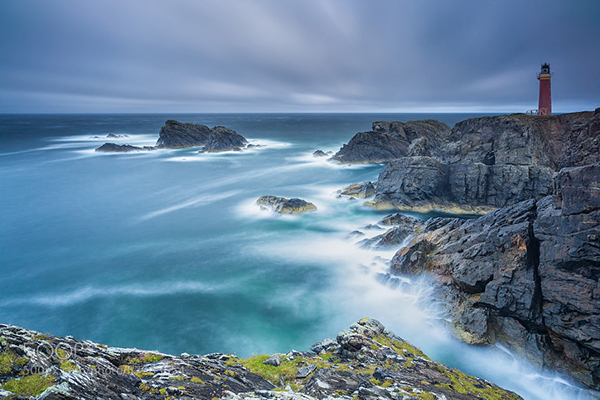
We’ve all seen the nighttime pictures that have auto head and tail lights streaking through the image. That’s simple done with a camera on a tripod. It’s long-exposure photography. It is also used to smooth out water that is in motion. Many photographers use it for landscape photography at the beach, at a waterfall, or taking a sky line photo of buildings adjacent to a body of water.
Long-exposure photography (with the camera on a tripod) makes stationary objects stand still, but objects in motion will either streak or blur across the image.
A long exposure is typically setting the shutter speed to a half of a second or higher. Most DSLR cameras can go up to 30 second exposures, and some even longer. Long exposures can be several minutes, and in some extreme cases, several hours (think of the desert shot where the stars are swirling).
A tripod is important because the camera has to stay stationary. This cannot be done handheld. For many people, shooting handheld under about a 60th of a second can be difficult. Long exposures can be done without a tripod by putting the camera on a table or other stationary object. But without a tripod you’ll be extremely limited.
A remote control (either with a wire or wireless) is very helpful, because even when the camera is on a tripod, when you press the shutter button, the camera slightly moves. That slight movement can slightly blur the stationary objects. Using a remote solves that issue and keeps those objects sharp. If you do not have a remote, simply put the camera on a timer. On a two second timer, when you press the shutter button and the camera slightly moves, it has two seconds to move back to it’s original position. By the time the shutter opens, the camera will have stopped moving.
For the photo with head and tail lights streaking through the image, set the camera anywhere from a few seconds to 10 seconds. Try to time it right so that the cars are consistently in motion while the shutter is open. If a car stops at a red light, you’ll get a stopped car in your photo opposed to have just the streaking lights.
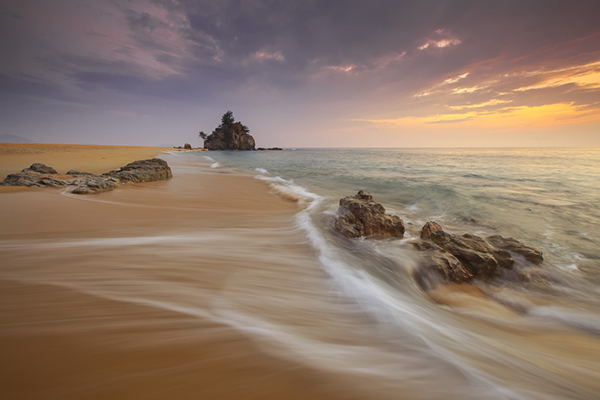
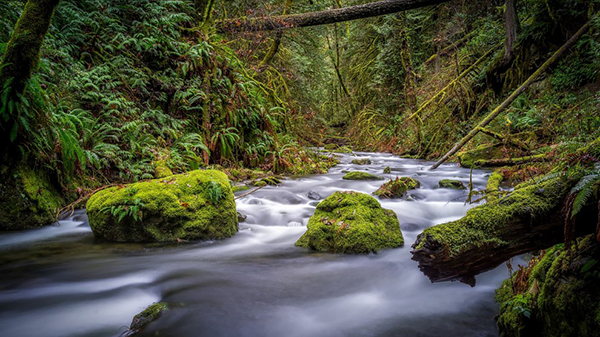
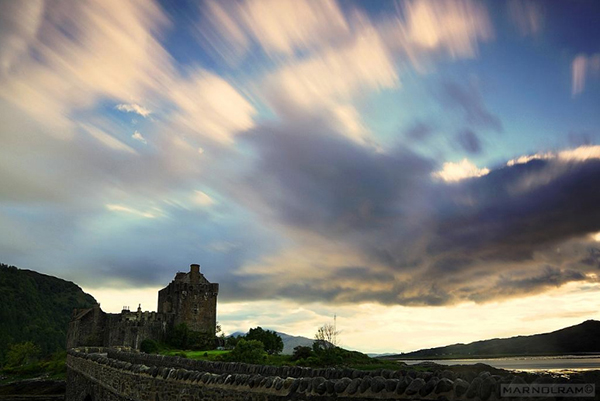
For large bodies of water, which typically has ripples from the waves and the movement of the current, long exposures creates a cool affect that smooths the water out. The same is true for clouds and fog.
Long-exposure photography has created amazing images at the beach during sunset. Now, I have never done long exposures during the day time, so this next point is based solely on articles and Youtube videos that I’ve researched. It appears that even as you’re losing the light after sunset, there is too much light. So unless you have a neutral density (ND) filter, which limits the amount of light that enters through the camera lens, your photos will probably be overexposed. Closing the aperture as much as possible may help, but even shooting at f/22 may not allow you to shoot with shutter speeds longer than a second or so. Again, I haven’t experimented with this, but it looks like you’ll need a ND filter. With the filter, you’ll be able to do long exposures while sunlight is present.

Like any piece of equipment, there are expensive and inexpensive versions. ND filters can cost well over $200 (I saw one online listed at $500), and they can cost as little as $20. I saw one Youtube video where a guy used a $20 ND filter and he said that he was surprised that it worked so well. But remember, you get what you pay for. If you can afford better, purchase better, especially if this is something that you can use often. You should also do some research on the filters, because from the little research that I’ve done, it looks like there is a lot to learn about the ND filter system. Maybe start off with cheap one and play around with it and then start to purchase more expensive ones are you figure it out.
For camera settings, use the lowest ISO setting that your camera can do. Chose your aperture based on the depth of field that you want. If you’re in downtown Los Angeles getting the famous shot on 3rd Street above the 110 freeway, you’ll want a large depth of field so that the freeway in the foreground and the buildings in the background are all in focus. It’s pretty much landscape photography, so f/7.1 to f/13 usually works well, or even higher f/stops. Once the ISO and aperture are set, play around with the shutter speed to get the correct exposure and desired long-exposure effect.
Also factor in that long-exposure shots take up more memory card space.
There are a lot of creative ways to capture long exposure photographs. Search the Internet for ways outside of streaking lights or smoothing out water, and experiment with as much as you can.